In a previous post, I hinted at another use for the master shaping formula: vertical bust darts. Next to lengthening or shortening, adding bust darts to a sweater or knitted garment is one of the most common modifications knitters make.
Two Types of Bust Darts
There are two kinds of bust darts: horizontal and vertical. If you sew, horizontal darts will look familiar to you, as they work much like sewn bust darts. This type of dart adds a 3-dimensional pocket to accommodate the bust – it does this by adding length to a garment in the front. This is because knitted fabric can stretch both horizontally and vertically directions, and because our bosoms have both width and length. If you’ve noticed that your fitted tops tend to ride up in the front, you’ll know what I mean.
There has been a lot written about horizontal bust darts, so I won’t go into that math here. If you’d like to add horizontal darts to your garment, here is a good tutorial. I prefer vertical darts in many cases, and I don’t think they’re talked about enough.
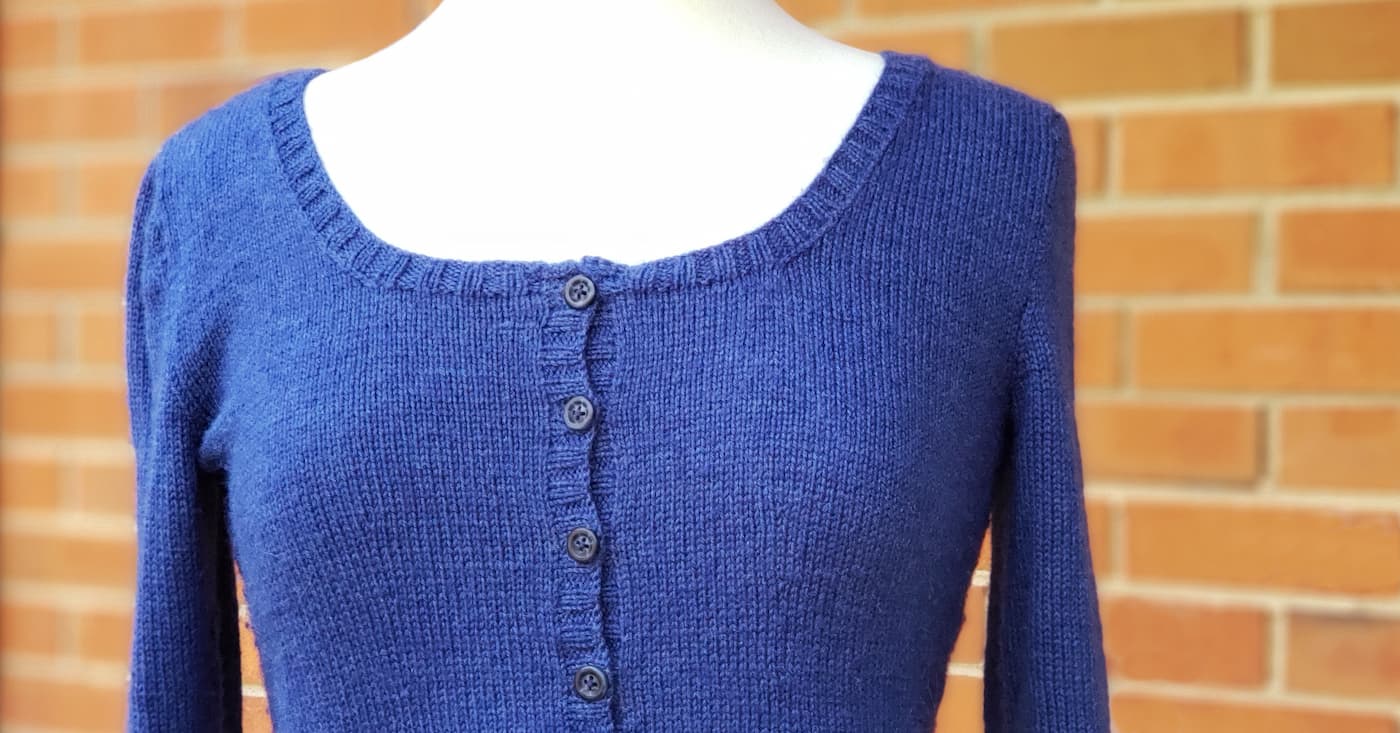
Vertical darts add width to accommodate the bust, rather than length. They are typically used in conjunction with waist shaping, (though they don’t necessarily have to be) – think of them like princess seams in sewing. Vertical darts add width to accommodate the bust, rather than length. An example of a garment with vertical darts is my Tilework Cardigan (shown above).
When to Add Bust Darts
To decide whether you need darts, you’ll need to know your the difference between your full bust measurement and the full chest/ bust circumference of the garment (see this post if you’re unsure how to choose your base size).
The average knitted fabric can accommodate being stretched up to 2 inches in width, depending on it’s gauge and fiber content, so if the difference is more than 2 inches/ (5 cm) you may need to add bust darts.
Calculating for Vertical Darts
Vertical darts can be calculated using the basic shaping formula I introduced in my previous post on shaping:
Rate of shaping = # rows for shaping / # of shaping rows needed
To calculate the # of shaping rows, measure the waist or underbust circumference where you want the darts to begin, and subtract from the full bust circumference; multiply this by the stitch gauge. Divide this number by 4 – you will work 2 increases each on the front and back of the garment. (Note that I am assuming a bottom-up garment here; if you are working top-down, the increases and decreases will be reversed.)
To calculate the # rows available for shaping, measure the length from where you want the darts to begin (often the waist), to a point an inch or so underneath the apex of the bust; it’s best not to have the dart end exactly at the fullest part of the bust. Multiply this length by the row gauge.
Combining Bust and Waist Shaping
To combine bust and waist shaping, you will do the same calculation, using the hip and waist circumferences and the length from the top of them hem (above any ribbing or hem treatment) to the waist. If your garment already has waist shaping at the side seams, you can move them in toward the center of the body and adjust the rate of increases from waist to bust. You will want to leave about an inch to work straight at the waist between decreases and increases.
If you need to add more stitches than are allowed for in the upper bust for your size, you will need to decrease your stitches above the bustline. The most invisible way to do this is usually to sneak in the additional decreases at the neckline, if you have the option. If you are knitting a raglan with a higher neckline, you can try adding additional raglan decreases on the body only. Or you can work the decrease along the same ‘princess seam’ line and make them a feature.
Where to Place Vertical Darts
You will also need to calculate where to place the darts. The general rule is that you’ll want to place the darts about 1/4 to 1/3 of the way from the edge of the front or back, leaving about 1/2 to 1/3 the width of the piece in between. If you are working vertical cables or another vertical stitch panel, you can work the darts just outside the panel and make them almost invisible.
An advantage of vertical darts for waist shaping is that you can have different shaping rates at the front and the back, which isn’t possible with shaping that is done along the side seam. If you are knitting a relaxed-fit garment, you can also add a bit of shaping at the back only to keep it from looking too boxy, as I did in my Cate Cardigan. This may also keep the garment from sliding backward on your shoulders, as it removes some extra bulk from the back of the garment and helps to anchor it on the body.
I hope these two posts on shaping help you to better fit your garments to your unique body. If you have other questions about shaping or bust darts, leave them in the comments below.
If you’d like to knit a garment with vertical darts, try my Tilework Cardigan.
Leave a Reply